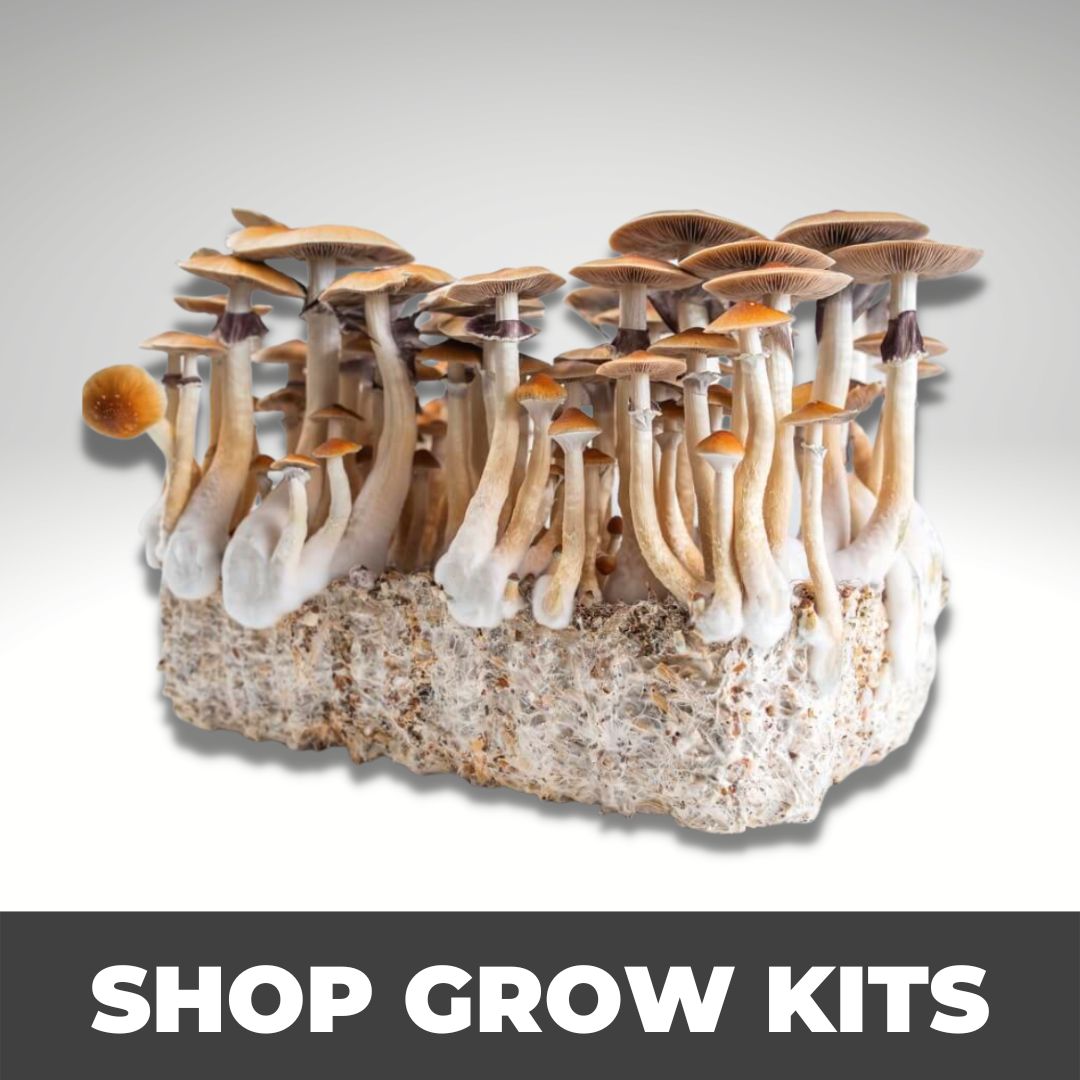
Mushroom growing can be an amazing way to get quality mushrooms without paying super high prices. But beyond that, there is also a sense of fulfillment in growing them yourself. So, here is a step by step guide to growing your own mushrooms.
What you will need:
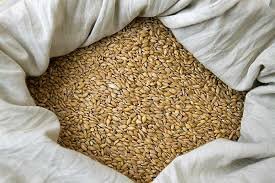
Once you have acquired the items required to complete this task you may begin prepping your colonization medium. There are many different products you can use for your colonization medium but in our experience grain works the best. Specifically oats and rye grain. Try to find organic whenever possible.
The first thing you should do is wash your grain in a large bucket or pot similar to the way you would wash rice. Poor the grain into the bucket with cold water and begin washing away any dirt that is left on the grain from processing. After your water is clear and the grain looks clean you are ready to soak it.
Soak the grain in the same bucket or pot you used to wash it in. The idea here is to allow the grain to absorb as much moisture as possible. Some growers also like to add gypsum at this point. Others prefer to do it in the next step when you are simmering the grain. The choice is yours, gypsum is not required but can add some benefit. After 18 to 24 hours of soaking the grain you are ready to move onto the next step.
Now you want to simmer your grain for 15 to 20 minutes on medium heat. The purpose of this is to pump as much water into the grain as possible before drying. You can achieve this by putting your pot on the stove at medium heat, bring it to a simmer. If you are using a bucket you can pour medium heat water into the bucket and allow it to sit for 15 to 20 minutes. Next up is drying.
Once you have simmered the grain and it’s looking nice and plump you now must dry the grain. Empty your pot/bucket into a strainer, allow it to air dry for a few minutes and then spread your grain out to maximum surface area on a table/towel/tote to allow for a quick drying time.
A fan or high airflow area can aid in the drying time. We have found that spreading it out on a bunch of old towels works well. Normally drying takes an hour but can take much longer if there is no airflow. The grain does not need to be completely dried before the next step. Your goal here is to dry the outside of the grain.
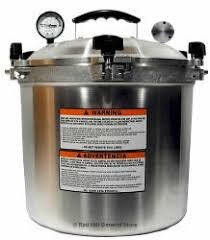
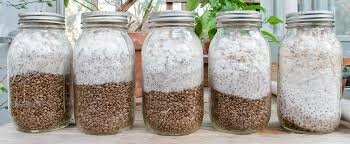
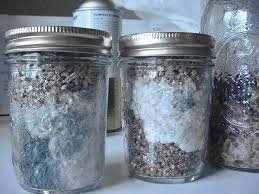
The next step is sterilization. Your sterilizer should be capable of reaching 15 PSI. Some brands include presto, T-fal, but the best brand is All American. If you can afford an All American we definitely recommend them as they are superior in safety and build quality. Now it’s time to gather your dried grain and put it into the pressure cooker/sterilizer. You may choose to load your grain into mason jars or 3T mushroom bags.
You should be measuring how much grain you put into each jar/bag. The general rule with jars is to fill them up ¾ of the way to the top and with bags it’s really up to you. People put 1lb to 5lbs of grain into each bag depending on how they plan on fruiting their mushrooms. Once you have loaded the pressure canner with your grain sterilize for 2 – 4 hours (depending on how much grain you put in) at 15 PSI. After you have finished using the sterilizer allow it to cool down for an hour before opening it.
Now before you open the sterilizer we must take some measures to ensure that you are being as clean as possible. We suggest wearing gloves or spraying your hands and the pressure cookers exterior with isopropyl alcohol before opening the lid. If you did not seal the bags before going into the pressure cooker make sure you seal them right away after taking them out of the pressure canner, to ensure that no bacteria gets inside of the bags before inoculation.
Safety tip: Do not overfill your pressure canner, and do not cover any of the emergency vents on the lid. Do not leave your pressure canner unattended while cooking for long periods of time and make sure you fully understand how it works before beginning usage.
What you will need:
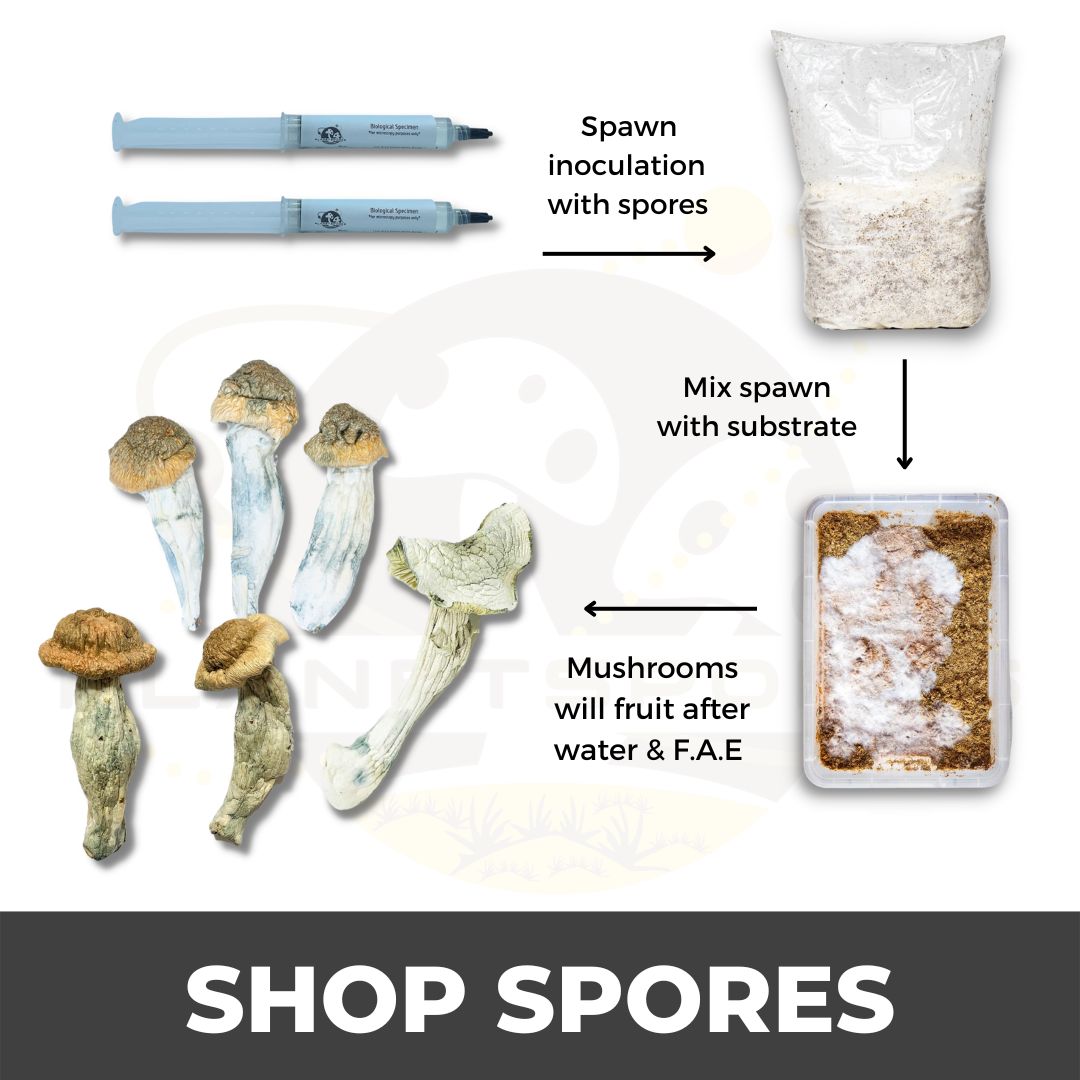
Inoculation can be done once you have removed the bags from the pressure cooker and the bags have cooled down. If you do not allow the bags to cool down, the high temperature can kill the mycelium. Inoculation should be done as soon as possible once the sterilized grain bags are cooled.
The benefit of inoculating right away gives the mycelium a clean environment to start growing before bacteria gets started. In our experience waiting a few days or even almost a week can work but you end up with more contamination.
Another benefit to inoculating right away is that your grain is fully hydrated which is great for the mycelium. Remember the grain has to last throughout the entire process so ensuring that it is fully hydrated is quite important.
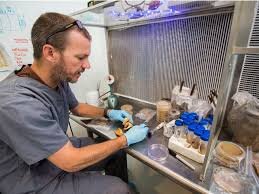
Inoculation should be done in the cleanest area possible. We recommended using a SAB (still air box) or to work in front of a flow hood. A SAB is great for beginners and later down the road you can add things like HEPA filters to your lab room.
Bathrooms can even work okay for a beginner grower. The most important thing is to make sure everything is thoroughly cleaned. Anything you bring into your lab room, clean it and anything that is making direct contact with your grain bags and genetics clean is as well.
Clean your arms and hands and wear gloves as well and a face mask if you can. Do not be afraid to go overkill at this stage. The inoculation step has the highest chance of contamination.
Types of Inoculation – There are many different ways to inoculate your colonizing (grain) medium, some of the most common ways include liquid syringe, agar, grain transfer.
After inoculation don’t forget to evenly disperse your spore liquid solution or agar evenly throughout the bag. Once this is done place your jars/bags in an environment primed from colonization.
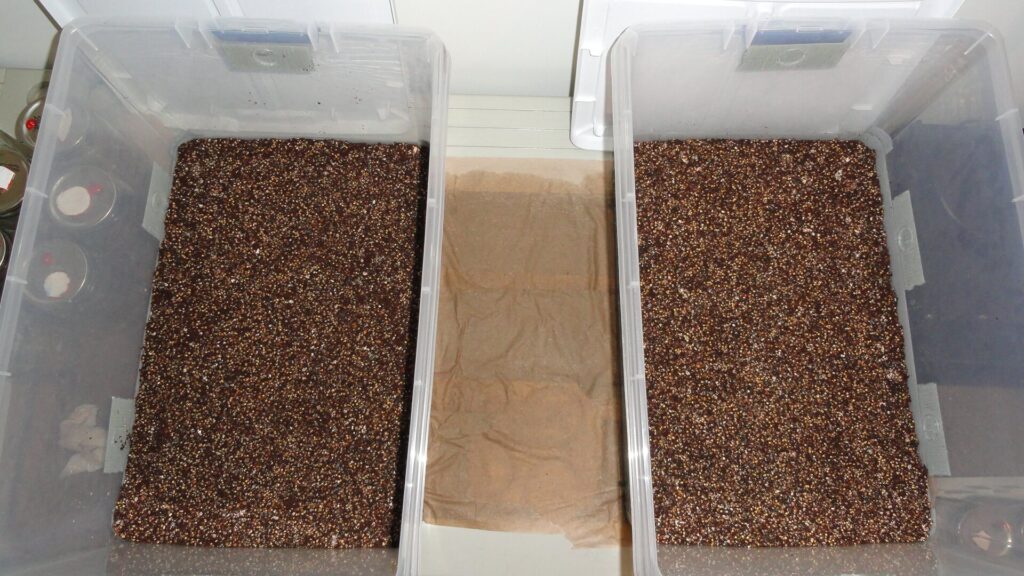
Your colonization area should be as dark as possible, have 40 to 50% ambient humidity and a temperature of around 25C or 77F. Do not let the temperature get above 27C or 80F, anything above this temperature can lead to contamination.
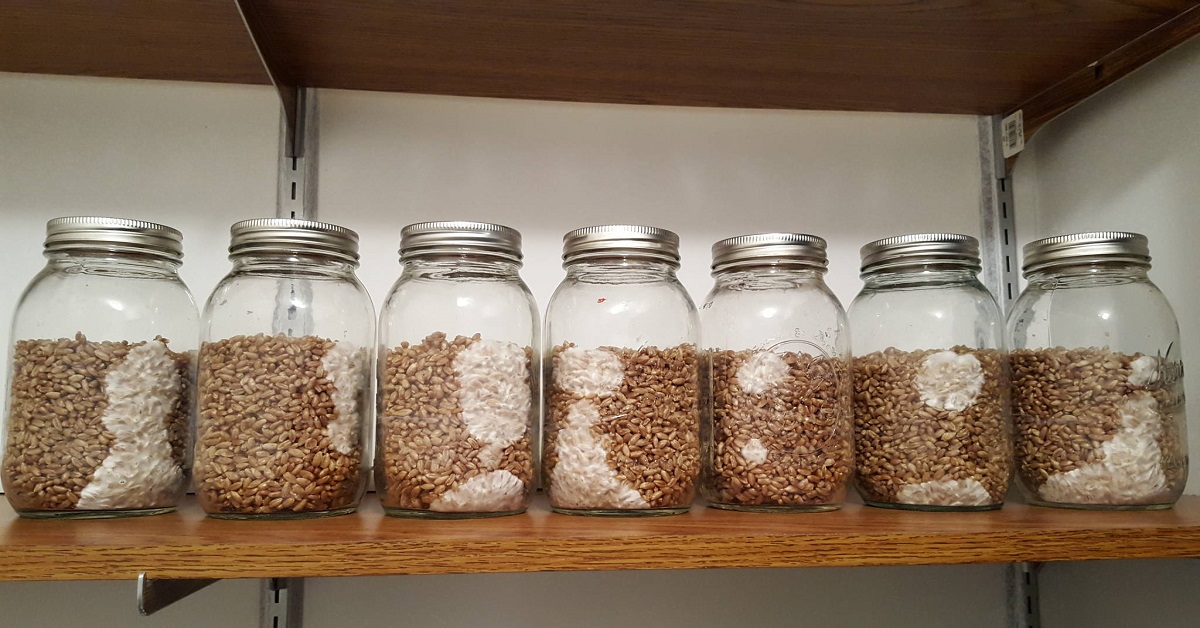
Full colonization can take anywhere from 2 to 6 weeks depending on which method you used (see above) and the conditions of your colonization space. Tip if your room is too cold colonization will take longer. The mycelium is fully colonized when you can barely see any grain and your jar/bag is fully covered with a solid layer of white mycelium.
If you notice any funny smells or any colored growth that isn’t white mycelium immediately quarantine the jar/bag from the others to avoid cross contamination. More often than not it’s contamination of some sort. Throw the contaminated medium in the trash.
What you will need:
After your colonization medium is fully colonized you are now ready to move to the next stage, making your fruiting substrate. There are many different fruiting substrates that people choose to make, however we highly recommend using our own bulk substrate pro mix which has been formulated with years of experience and trial and error.
If you choose to make your own substrate that is totally okay too. We will run you through the basic ingredients needed to make a successful fruiting medium, however it will not have all of the more specialty ingredients that our bulk substrate pro mix has in it to ensure optimal nutrition.
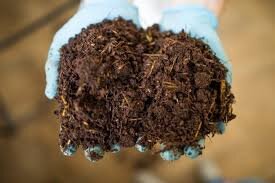
Begin by mixing 50/50 coco coir and vermiculite in a bucket. Weigh your current mix and then add 10% gypsum into the bucket. While you are mixing you should be boiling some water in order to pausterize your fruiting mix. You should be adding in roughly 0.9L of water for every pound of dried mix. The purpose of the boiling water is for efficiency. You are both hydrating your substrate and pausterizing it at the same time.
The benefit to this fruiting mix is that you do not need to do a full sterilization of the fruiting mix instead you only need to pasteurize it with boiling water. If you were to use a more nutrient filled substrate chances are you would need to sterilize it fully in your pressure cooker which can add a lot of time to the process.
Once you have mixed your ingredients and poured the correct amount of water into the buckets. Put the lid on right away and let them sit overnight.
Tip: If you are using coco bricks you will need the water to help break up the brick in order to properly mix your ingredients. You can either let the buckets sit for an hour or so to cool down a little bit then open them and mix the ingredients with a sterilized tool or your hands with gloves on. Or you can wait until the mixture has completely cooled (next day) and mix it then. Now you have your fruiting substrate properly mixed, sterilized or pasteurized and fully hydrated. You are ready to add your colonization medium (grain) to the substrate.
This next job should be done in front of a hood flow or at best a very clean area such as a lab, office, or bathroom that has been cleaned thoroughly. At this point cleanliness is not as important as the inoculation phase since the mycelium is partially developed and can fight off some contaminants. However this is not an excuse to slack on cleanliness, be sure to wear gloves, mask, and hairnet. Wipe and spray down all surfaces and tools as well as your grain bags/jars with isopropyl alcohol.
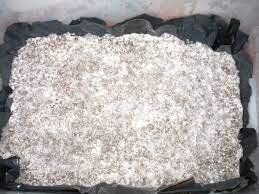
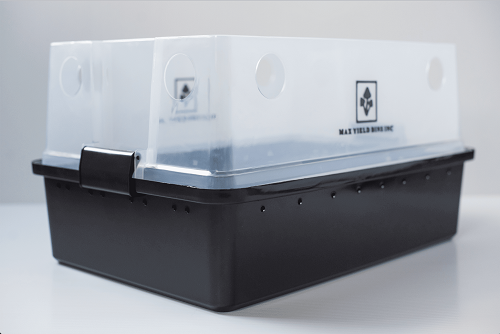
Clean your desired fruiting tub/tray out very well with isopropyl alcohol and then place a garbage bag inside of the rub (yes clean the garbage bag as well your fruiting substrate will be in direct contact with it). The garbage bag is to prevent bottom and side pins, the substrate will suck the bag against itself forcing the mushrooms to pin upwards instead of sideways and on the bottom.
We recommend a 30% grain to 70% substrate mixture ratio. Now begin dumping your fruiting substrate and colonized medium (grain) into the tub. We recommend mixing the two instead of layering it, we have found that it incubates better this way. Once you have mixed the two mediums together lightly tamp the surface to create a level compact fruiting environment.
Put the lid onto the tub/tray and cut away any excess garbage bag liner. Your lid should have 3 – 5 two inch holes drilled in them. The holes should be covered with micropore tape to allow for air exchange during the incubation process.
Once your fruiting mix is in your container of choice. Place it in an environment that will allow it to incubate, which takes 7 to 14 days.
Incubation conditions are the exact same as colonization conditions many growers use the same room as their colonization room.
Your incubation area should be as dark as possible, have 40 to 50% ambient humidity and a temperature of around 25C or 77F. Do not let the temperature get above 27C or 80F, anything above this temperature can lead to contamination.
If you notice any funny smells or any colored growth that isn’t white mycelium immediately quarantine the tote/tray/tub from the others to avoid cross contamination. More often than not it’s contamination of some sort. Throw the contaminated medium in the trash.
What you will need:
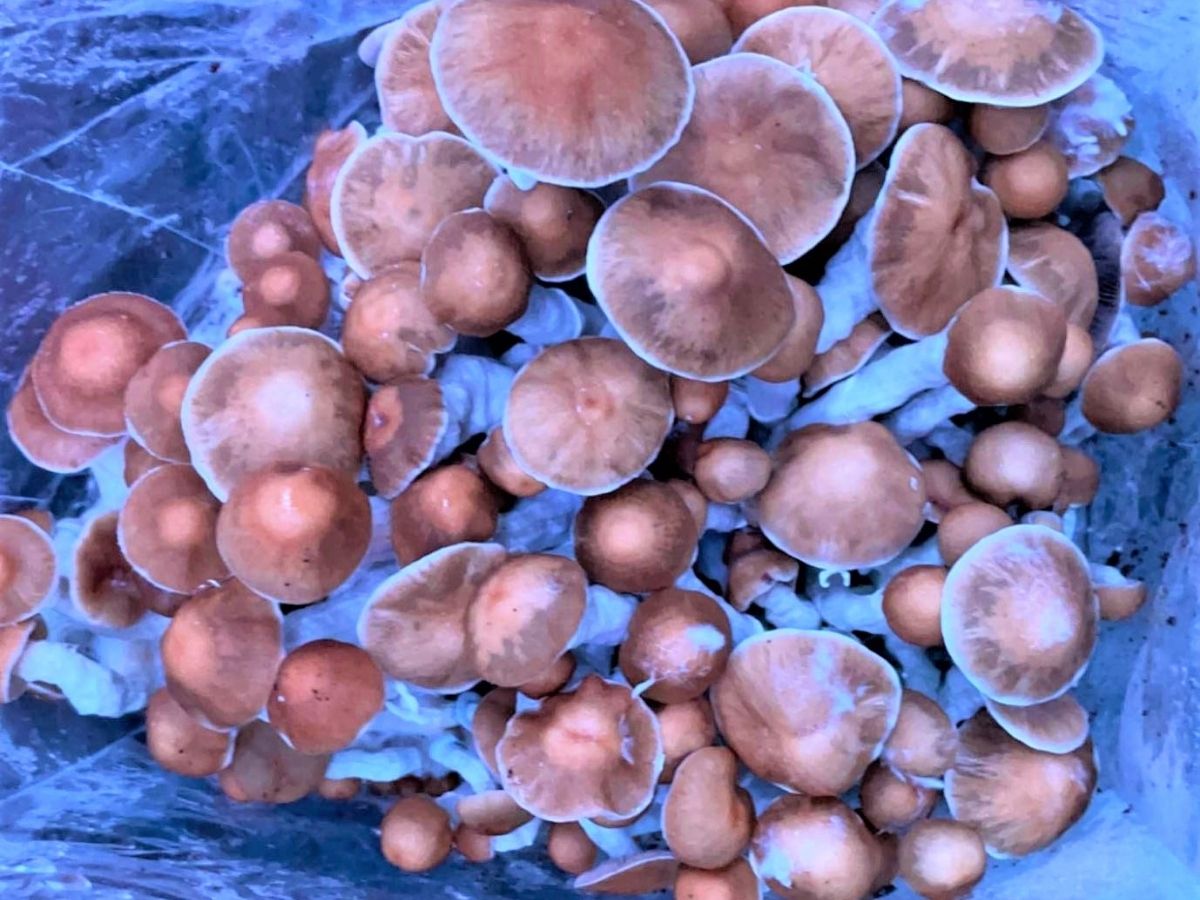
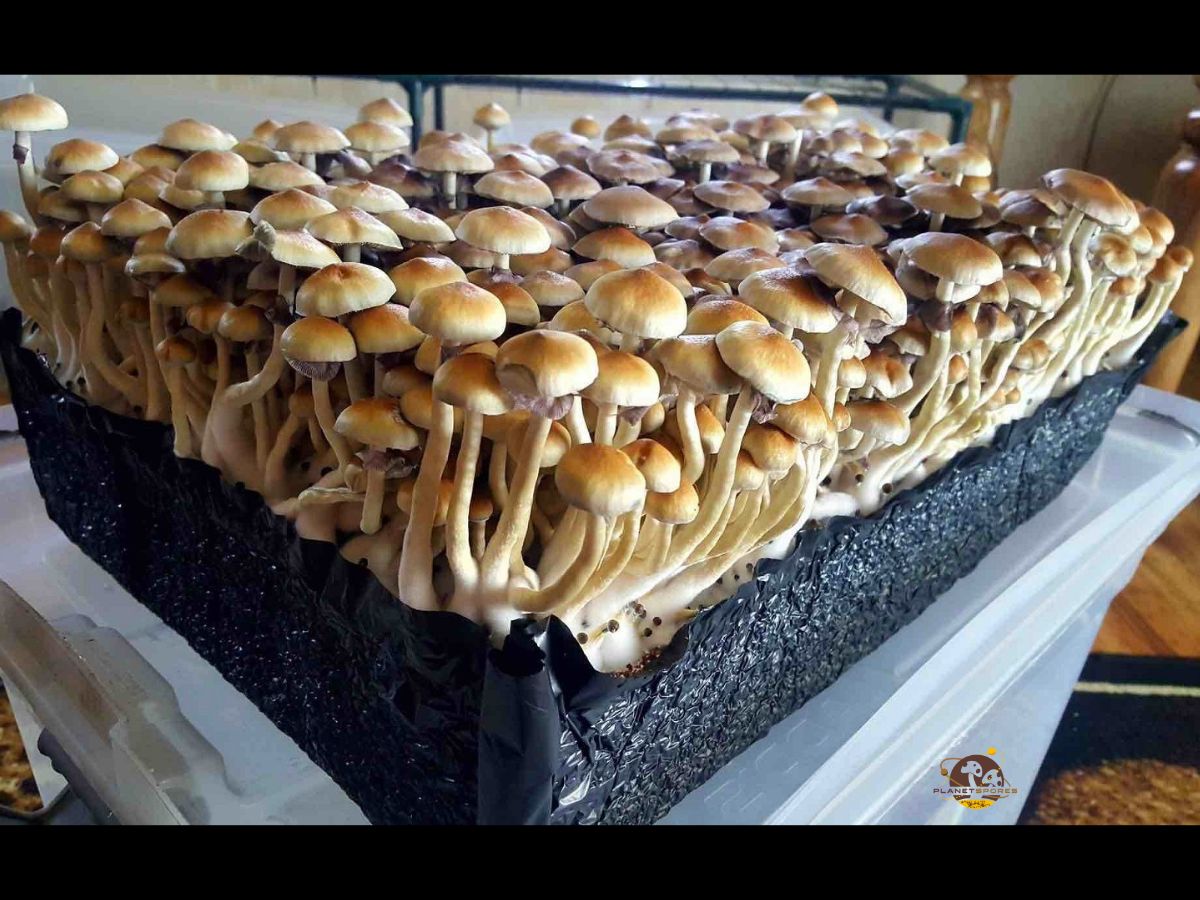
Once your substrate is fully incubated you are now ready to fruit your mushrooms. A fully incubated tub will look very similar to a fully colonized jar//bag of white mycelium. In order to trigger your mushrooms to fruit you must change the environmental conditions. The three main triggers are humidity, light, and airflow.
Think of how mushrooms grow in the wild. They start out under the earth where it is dark and warm and then usually after a rainfall they push out from under the earth into an environment of high airflow and light. We are trying to mimic the same environment in a controlled area.
You should switch your lighting from primarily dark to a 12 on 12 off light cycle. The type of light is not too big of a deal but ideally lighting between 6000 and 7000 kelvin will work best.
Next up is humidity. Change the lid on your tub to a fruiting dome. We have found that using the same sized sub you used for incubation but flipping it works well. Now you should have two tubs stacked on top of each other, cut 4 two inch holes in the corners of the upper dome and fill them with polyfil. This will allow for maximum airflow while keeping contaminates out of the fruiting environment. You can use clips to hold the dome to the tub.
Once you have assembled the fruiting dome it is time to make it rain. Use your fine mist spray bottle to mist the tub as needed. Whenever there is no moisture built up on the sides of your fruiting dome it means you need to mist it, generally this is every 1 to 2 days.
You want to avoid water pooling on your substrate surface which is why you need to use a fine mister and not a watering can. You will notice that the more airflow you have in your fruiting room the more you will need to mist and vice versa.
Tip: Feel free to mist your substrate directly but once you start to see pins pushing through it is recommended that you avoid misting them directly and instead mist the side walls of the tub/dome.
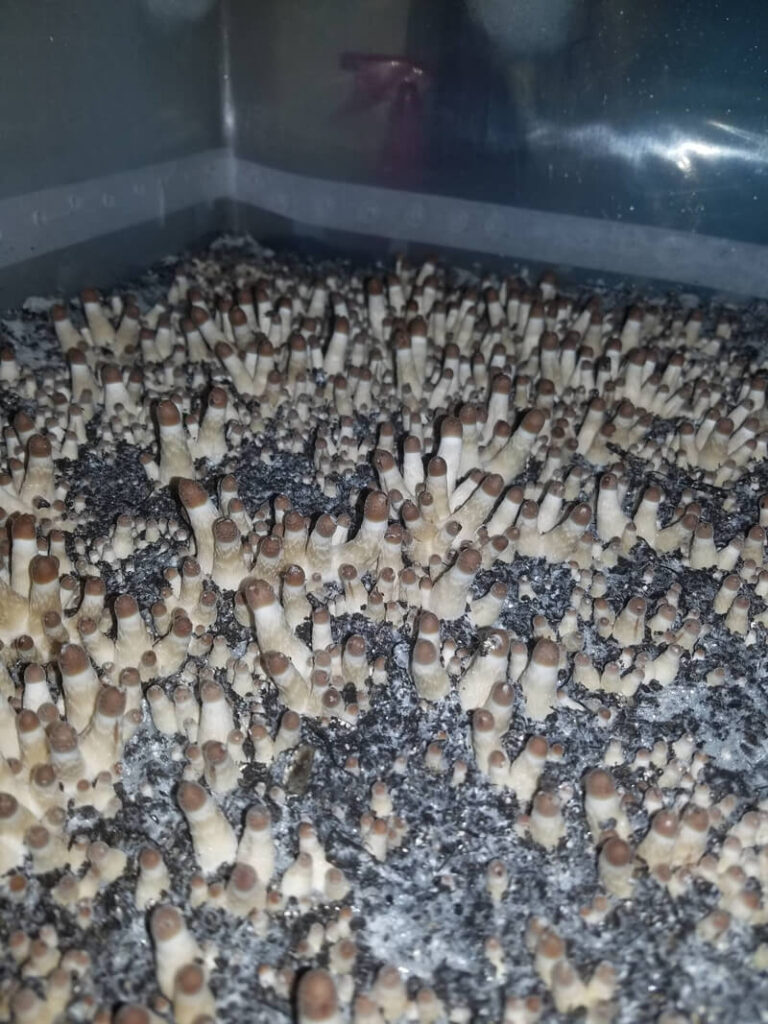
After roughly 5 to 10 days you should start to see small Primordia or “pins” forming. These will grow quickly into mushrooms within 3 to 5 days.
What you will need:
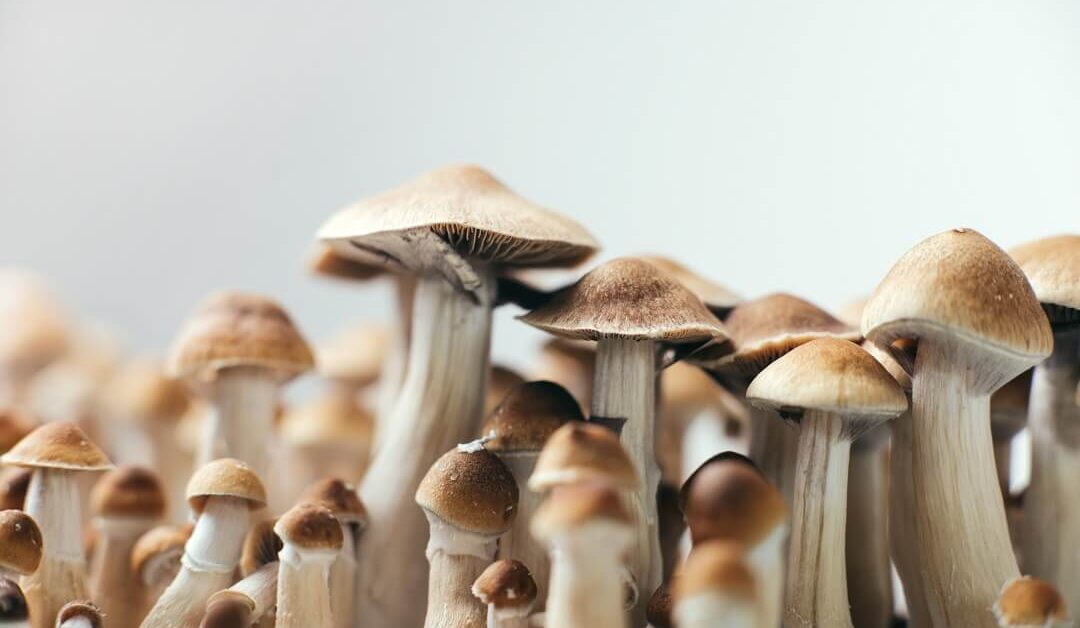
Congratulations on making it this far, you are now ready to harvest your mushrooms. The fruits of your labor have finally paid off. During this phase you need to pay close attention to your crop, the ideal picking window of a fruiting mushroom is roughly 6 and 24 hours.
Aim to pick your shrooms right as or slightly before the veil has broken away from the cap. You do not want the mushroom to release its spores all over your substrate and other smaller shrooms, it makes a mess and can affect your next flush. Also the shroom is more potent while the veil is still attached.
During harvest make sure you are wearing gloves and try to minimize the amount of contact you have with the substrate and smaller shrooms that are still growing. To remove a mushroom, grip the base of the stem, then twist and pull. Try to pull the shroom out with as little damage to your fruiting substrate as possible.
Start by picking mushrooms that are ready and leave the smaller ones to mature for the next 12 to 24 hours. Once you have cleared all of the shrooms from the substrate. Take your scissors and cut away and excess stems (these will mold late if not removed).
Once you have picked all your fruits, its time to flush or rehydrate. The purpose of flushing is to rehydrate so that your beautiful shrooms can grow again and again. There are a few different ways to go about this.
Flushing – is when you dump and slightly submerge your fruiting substrate in water for a period of time in order to rehydrate it for the next flush. This method works very well if your substrate is very dry at the end of a harvest. It involves pouring lots and lots of water into your tub/tray/tote for a few hours, then draining it and placing the tub back into fruiting conditions.
Pros – Great for quick hydration and can produce some amazing 2nd and 3rd flushes
Cons – If you soak the substrate too long it will turn into mush and probably will not grow many more fruits and will have water pooling even after you drain the water out which will lead to mold and contamination.
Rehydrating – Is simply increased misting and possibly pouring small amounts of water onto your substrate but much less than dunking or submerging it as described above in flushing. This way will work well if you hydrated your substrate to the optimal levels in the previous steps.
Pros – Less labor intensive and less mistake prone.
Cons – If your substrate is really dry this method may not work as well.
Flushes will continue to happen as long as there is enough nutrients and humidity in the tub for the shrooms to grow. Typically a home or hobby grower can expect to achieve 1 – 3 flushes before contamination begins to appear. If you are growing in a more clean laboratory environment with everything dialed in properly you can expect to get 5 to 6 flushes. More flushes equals more mushrooms.
Tip: As soon as you see any kind of contamination in any of your tubs immediately quarantine the tub/tray and move it away from your fruiting area. If contamination is ramped, throw it out. If there is only a small amount of contamination let it finish its flush and then dispose of it.
What you will need:
The last and final step is drying your shrooms. Place your harvested mushrooms into your dehydrator for 12 to 24 hours on low heat. Anything below 180F is fine. Anything over 200F can reduce the potency of your shrooms effects. If you don’t have a dehydrator you can build a makeshift drying chamber either in a room or out of a cardboard box.
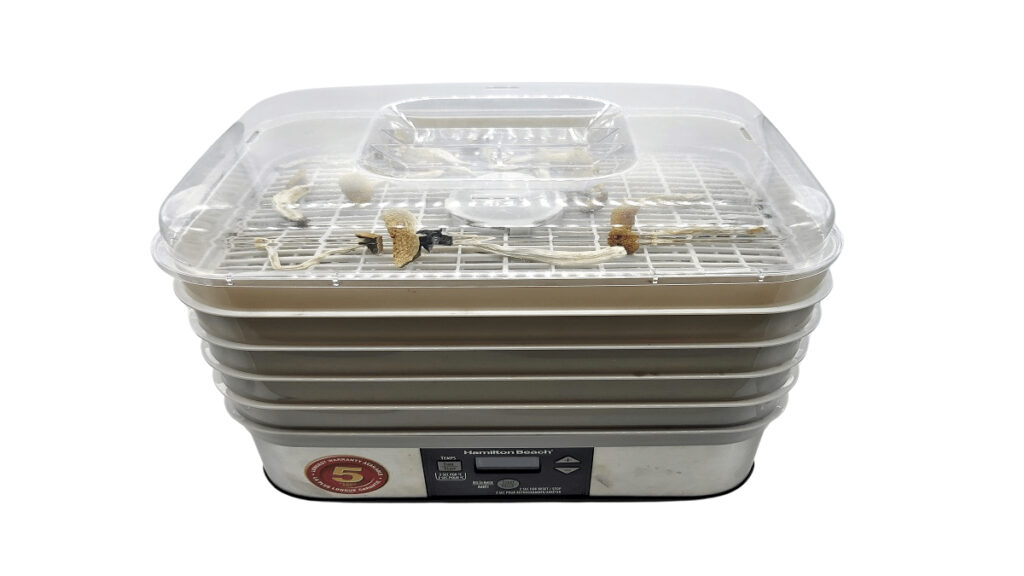
Simply place your shrooms in a box with a fan blowing air into it for 1 to 3 days. The shrooms should feel like a chip when they are dry, they should be easy to snap in half. If you notice that they crumble at touch and there is a lot of dust it means you dried them out too much and most likely had them in your dehydrator for too long or too hot.
Along with drying comes cleaning the mushrooms and prepping them for consumption. This can be done before you dry them or after, it’s really a personal preference. You can use a cloth and water to wipe away any excess dirt or you may choose to use more specific tools such as a mushroom brush.
A mushroom spawn bag can be used as a small fruiting chamber, giving your mushrooms excellent fruiting conditions. The versatility of mushrooms allows for growth
What Is A Grain To Grain Transfer Grain to grain transfer is a simple and efficient process where colonized grain spawn is transferred to newly
What is a Monotub? Monotubs are an all-in-one fruiting chamber that is not only used for fruiting mushrooms but is also used to mix mushroom

Whether you just harvested from a grow kit, or just finished drying your mushrooms, chances are there will be some left over that will need